Sprinkler Tank Lining and Relining
Manufactured using EPDM, our sprinkler tank lining and relining options are designed to offer an effective solution and an alternative to traditional lining systems that use butyl rubber.
Our tank lining experts will undertake the entire process, ensuring that the installation is completed efficiently and effectively. If your sprinkler tank is showing signs of wear and tear, corrosion or damage, then we can help to rectify the issue and enhance the lifespan of your tank, enabling you to avoid the high costs associated with replacing them.
GALLERY


The Sprinkler Tank Lining and Relining Process
To begin with, we close and tag the sprinkler tank inlet valve before isolating and tagging all power supplies and pumps. Over a period of 24 to 36 hours, the tank is drained. The time it takes is dependent on the size of the tank while it helps to avoid any flooding or causing the drains to back up.
Once the drainage process has been completed, we then position confined space and ventilation equipment at the access point to the tank while we make sure that we check all permits and method statements before signing them off.
We then use submersible pumps and wet vacuums to remove all remaining water as well as any sediment or silt that is present. Our experts will then begin cleaning the internal surfaces of the tank as well as the base, removing all rust and debris.
We then remove a tank panel as this enables simple access of the sprinkler tank lining. The panel is usually removed at ground level as this makes access simple.
The removal of all overflow and outlet fittings is carried out while we clean all flange surfaces too. The sprinkler tank lining comes in one piece although, if a sump is present then this might require us to install it in situ.

Matting Bag Sprinkler Tank Lining
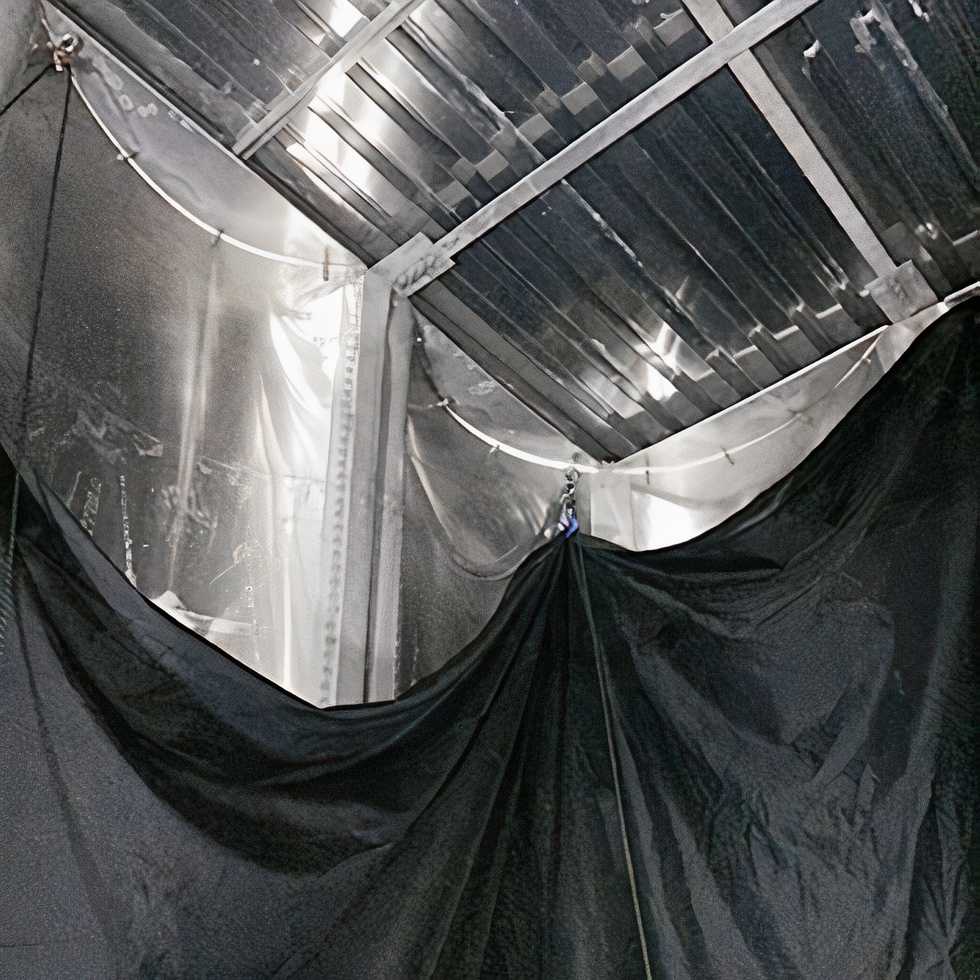
We then hang a matting bag from the existing fixing located around the top rim of the sprinkler tank. This is done using stainless steel eyelets. This matting bag helps to achieve an additional level of protection that is located between the wall and base of the tank as well as the EPDM lining.
We then cut holes in the matting bag which provides access to the connections and flanges before the panel that we remove is fitted back in place. We then position the EPDM sprinkler tank lining in place on the base of the tank before the lining walls are raised into position close to the roof of the tank.
Using the existing fixings and stainless steel eyelets, the lining walls are supported accordingly. Once the lining has been placed into position and secured, the tank flanges and fixings are then put back in place using new seals and the lining which is used as a gasket.
We then proceed to remove all equipment from the tank before beginning the process of refilling. The tank is filled over a period of 24 hours and is checked regularly to ensure that there are no leaks. In total, the system takes around four days to install.
Why is Sprinkler Tank Lining and Relining so important?
We can also undertake the project of relining sprinkler tanks that are suffering from corrosion or leakages. In general, sprinkler tank linings last for around 15 to 20 years as they can perish and shrink while the fittings can corrode.
The entire procedure is relatively simple and straightforward. This is down to the fact that the design of the tank is already suitable for EPDM and butyl linings. The process of relining a tank can take up to 5 days while smaller tanks can be completed in around 3 days.